Injection molding at home can be a challenging but rewarding process. With the right equipment, materials, and safety precautions, you can create custom plastic parts in your own workshop. Here’s a step-by-step guide to help you get started with injection molding at home:
1. Understand the Basics
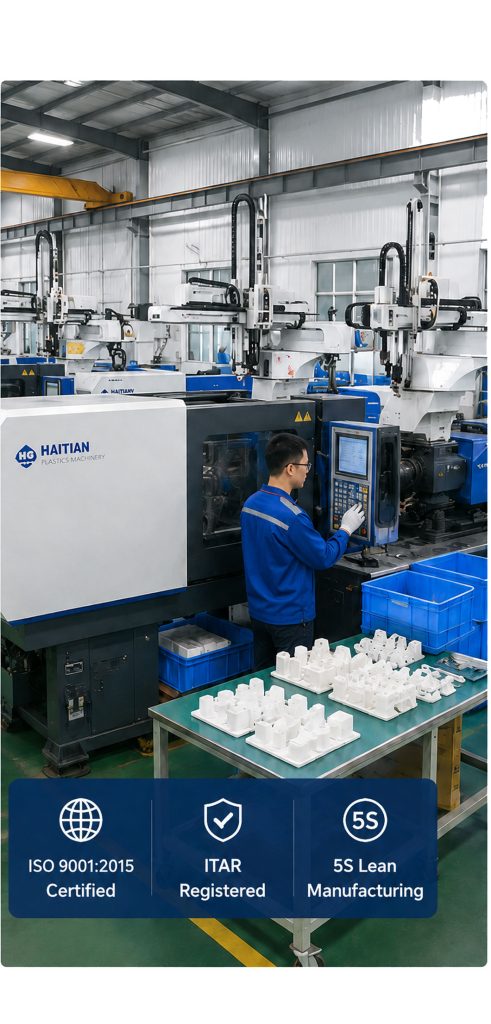
Injection molding involves heating plastic material until it becomes molten, then injecting it into a mold where it cools and solidifies into the desired shape. The process requires an injection molding machine, a mold, and raw plastic material in pellet form.
2. Gather Equipment and Materials
Injection Molding Machine
- Benchtop Injection Molding Machine: Small, manual, or semi-automatic machines are available for hobbyists. These machines typically cost between $1,500 and $5,000.
- Homemade Machines: You can build a simple injection molding machine using metal pipes, a heater, and a hand-operated plunger or lever system. Plans and guides are available online.
Molds
- Mold Material: Aluminum is commonly used for DIY molds because it’s easier to machine than steel. Alternatively, silicone molds can be used for low-temperature plastics.
- Mold Design: Design the mold using CAD software, then either machine it yourself if you have the tools or have it machined by a local workshop or online service.
Plastic Materials
- Thermoplastics: Common choices include polyethylene, polypropylene, and ABS. These materials are available in pellet form.
- Recycled Plastics: You can recycle old plastic parts by shredding them into small pieces suitable for melting.
3. Designing the Mold
CAD Design
- Use CAD software to design your part and the mold.
- Ensure the design includes proper draft angles to facilitate part ejection.
- Include runners and gates to direct the flow of molten plastic into the mold cavity.
- Design vents to allow air to escape and avoid trapped air bubbles.
Machining the Mold
- CNC Machining: If you have access to a CNC machine, you can machine the mold from aluminum or another suitable material.
- Manual Machining: For simpler molds, use a drill press and milling machine to create the basic shapes and features.
4. Setting Up the Injection Molding Machine
Preparing the Machine
- Set up the injection molding machine according to the manufacturer’s instructions.
- Heat the machine to the appropriate temperature for the plastic material you are using.
Loading the Material
- Load plastic pellets into the machine’s hopper. Ensure the material is clean and dry to avoid defects in the final part.
5. Injection Molding Process
Mold Clamping
- Place the mold in the machine and secure it properly.
- Ensure the mold halves are aligned correctly to avoid flashing (excess plastic around the part edges).
Injecting the Plastic
- Use the machine to inject the molten plastic into the mold cavity. Manual machines typically involve pulling a lever to inject the plastic.
Cooling and Ejection
- Allow the plastic to cool and solidify inside the mold. The cooling time depends on the part size and material.
- Open the mold and carefully remove the part. Use ejector pins or a similar mechanism if necessary.
6. Post-Processing
Trimming
- Remove any excess plastic or flash from the part using a sharp knife or trimming tool.
Finishing
- Sand or polish the part if needed to achieve the desired surface finish.
Assembly
- If your part is a component of a larger assembly, check fit and finish with other parts.
7. Tips for Success
Start Simple
- Begin with simple, small parts to get a feel for the process.
Material Choice
- Use common thermoplastics that are easy to work with and readily available.
Safety First
- Always follow safety guidelines when working with hot materials and machinery.
Iterate
- Expect some trial and error. Adjust mold designs and machine settings as you learn more about the process.
Conclusion
Injection molding at home can be a cost-effective way to produce custom plastic parts for personal projects, prototyping, or small-scale production. By following the steps outlined above and taking necessary safety precautions, you can successfully create high-quality parts in your own workshop.