Do-it-yourself (DIY) injection molding can be a cost-effective way to produce small batches of plastic parts without investing in expensive industrial equipment. This approach is suitable for hobbyists, small businesses, and prototyping. Here’s a guide to get you started with DIY injection molding:
1. Understanding the Basics
Injection molding involves heating plastic material until it becomes molten and then injecting it into a mold where it cools and solidifies into the desired shape. For DIY purposes, the process can be simplified but will follow the same basic steps as industrial injection molding.
2. Equipment and Materials
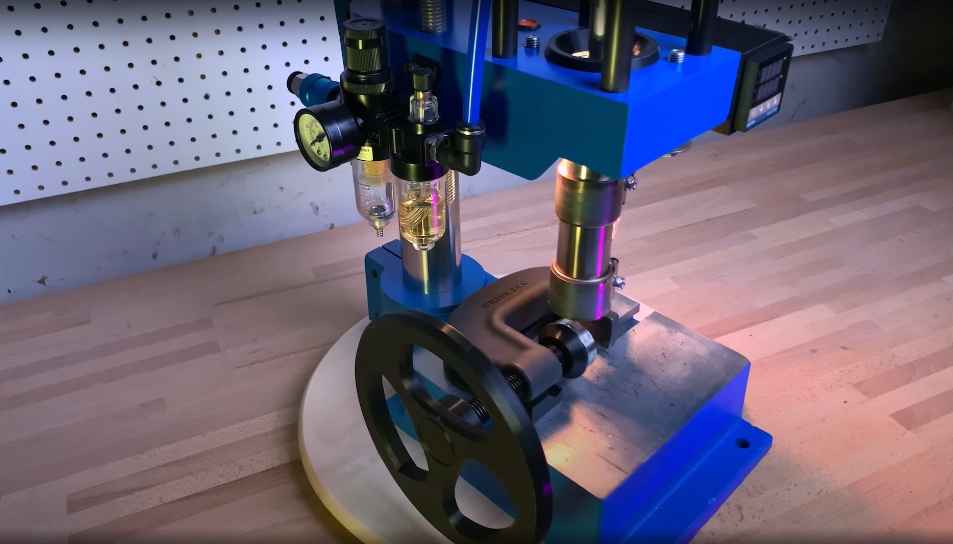
DIY Injection Molding Machine
- Benchtop Injection Molding Machine: Small, manual or semi-automatic machines are available for hobbyists. These machines typically cost between $1,500 and $5,000.
- Homemade Machines: You can build a simple injection molding machine using metal pipes, a heater, and a hand-operated plunger or lever system. Plans and guides are available online.

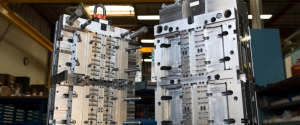
Molds
- Mold Material: Aluminum is commonly used for DIY molds because it’s easier to machine than steel. Alternatively, silicone molds can be used for low-temperature plastics.
- Mold Design: Design the mold using CAD software, then either machine it yourself if you have the tools or have it machined by a local workshop or online service.
Plastic Materials
- Thermoplastics: Common choices include polyethylene, polypropylene, and ABS. These materials are available in pellet form.
- Recycled Plastics: You can recycle old plastic parts by shredding them into small pieces suitable for melting.
3. Creating the Mold
Designing the Mold
- Use CAD software to design your part and mold.
- Ensure the design includes proper draft angles to allow easy part removal.
- Incorporate cooling channels if possible to speed up the cooling process.
Making the Mold
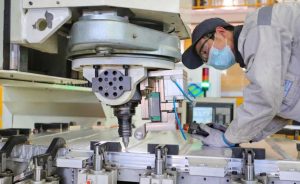
- Machining: If you have a CNC machine or access to one, you can machine the mold directly from aluminum or another suitable material.
- Casting: For simpler or low-temperature applications, you can create a silicone mold. Make a master part, encase it in silicone, and allow it to cure before removing the master to leave a mold cavity.
4. The Injection Molding Process
Preparing the Machine
- Heat the injection molding machine to the appropriate temperature for your plastic material.
- Load plastic pellets into the machine’s hopper.
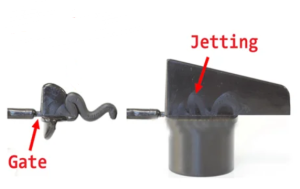
Injecting the Plastic
- Place the mold in the machine and secure it.
- Use the machine to inject molten plastic into the mold cavity. Manual machines typically involve pulling a lever to inject the plastic.
Cooling and Ejection
- Allow the plastic to cool and solidify inside the mold. This can take a few seconds to a few minutes, depending on the part size and material.
- Open the mold and carefully remove the part. If necessary, use ejector pins or a similar mechanism to assist in part removal.

5. Post-Processing
- Trimming: Remove any excess plastic or flash from the part using a sharp knife or trimming tool.
- Finishing: Sand or polish the part if needed to achieve the desired surface finish.
- Assembly: If your part is a component of a larger assembly, check fit and finish with other parts.
6. Tips for Success
- Start Simple: Begin with simple, small parts to get a feel for the process.
- Material Choice: Use common thermoplastics that are easy to work with and readily available.
- Safety First: Always follow safety guidelines when working with hot materials and machinery.
- Iterate: Expect some trial and error. Adjust mold designs and machine settings as you learn more about the process.
Conclusion
DIY injection molding is a practical approach for producing small runs of plastic parts. While it requires some initial investment in equipment and materials, it offers a hands-on way to create custom parts. By understanding the basics and following best practices, you can successfully produce high-quality parts in your own workshop.
Related Conten: Quick Turn Injection Molding / Rapid Injection Molding