Making injection molds involves several steps, from designing the mold to fabricating and finishing it. Here’s a step-by-step guide to creating your own injection molds:
1. Designing the Mold
CAD Design
- Use computer-aided design (CAD) software to create a detailed 3D model of your part.
- Design the mold cavity to match the shape of the part. The mold typically consists of two halves: the cavity (female part) and the core (male part).
- Include necessary features such as:
- Draft Angles: Ensure all vertical surfaces have a slight taper (1-3 degrees) to facilitate part ejection.
- Runners and Gates: Design the channels through which the molten plastic will flow into the mold cavity.
- Vents: Include small vents to allow air to escape from the mold cavity.
- Ejector Pins: Plan for pins that will push the finished part out of the mold after cooling.
Mold Material Selection
- Aluminum: Easier to machine and suitable for low to medium production volumes.
- Steel: More durable and ideal for high-volume production but more difficult to machine.
- Silicone: Suitable for low-temperature plastics and simple, low-volume molds.
[elementor-template id=”4330″]
2. Machining the Mold
CNC Machining
- Preparation: Secure the chosen material (aluminum or steel) on the CNC machine bed.
- Programming: Use CAM (computer-aided manufacturing) software to generate the tool paths based on your CAD design.
- Machining: Machine the mold halves, including the cavity, core, runners, gates, and any other designed features.
Manual Machining (for Simple Molds)
- Drilling and Milling: Use a drill press and milling machine to create the basic shapes and features.
- Precision Tools: Employ precision hand tools like files and scrapers for fine details.
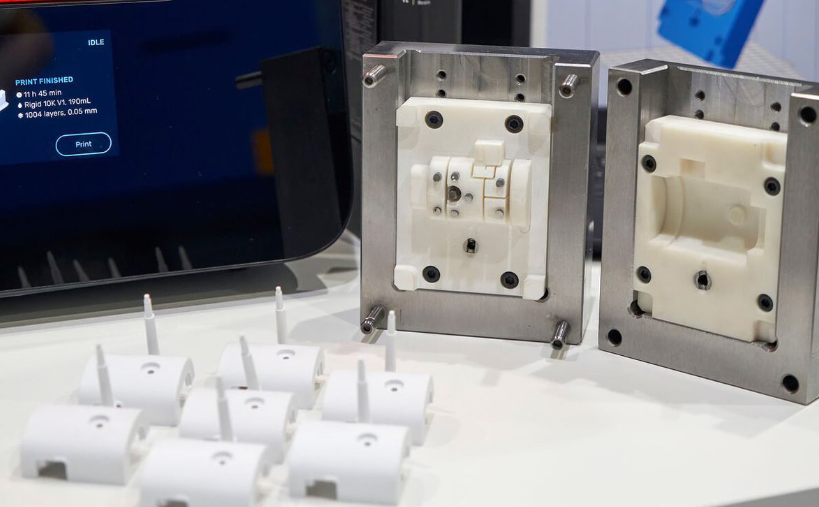
3. Assembling the Mold
Fitting and Alignment
- Ensure that the two mold halves fit together precisely. The alignment must be perfect to avoid flash and ensure the quality of the molded parts.
- Use alignment pins and bushings to maintain proper alignment between the mold halves during the injection process.
Adding Ejector Pins
- Install ejector pins in the core half of the mold. These pins will push the part out of the mold after it solidifies.
- Ensure the pins move freely and align correctly with the mold cavity.
4. Adding Cooling Channels
- Design Channels: Incorporate cooling channels in the mold design to circulate coolant and reduce cooling time.
- Drill Channels: Use a drill press or CNC machine to create channels within the mold halves.
- Seal Channels: Install fittings and seal the channels to prevent coolant leaks.
5. Finishing the Mold
Surface Finishing
- Polishing: Polish the mold surfaces to achieve the desired finish on the final parts. This can range from a mirror finish for high-gloss parts to a matte finish for textured surfaces.
- Texture: Apply any desired textures using etching or other surface treatments.
Heat Treatment (for Steel Molds)
- Harden steel molds to increase their durability and lifespan. This typically involves heating the mold to a high temperature and then cooling it rapidly.
[elementor-template id=”4331″]
6. Testing the Mold
Initial Testing
- Mount the mold in an injection molding machine and run a few test cycles.
- Inspect the first parts for any defects, such as warping, incomplete filling, or surface imperfections.
Adjustments
- Make necessary adjustments to the mold, such as tweaking the cooling channels, adjusting the ejector pins, or refining the runners and gates.
7. Production
Setup for Production
- Once the mold is tested and adjusted, set it up in the injection molding machine for production.
- Monitor the process closely during initial production runs to ensure consistent quality.
Maintenance
- Regularly maintain the mold by cleaning it and checking for wear or damage. Proper maintenance will extend the life of the mold and ensure consistent part quality.
Conclusion
Making injection molds is a complex process that requires precision and attention to detail. By following these steps, you can create effective molds for producing high-quality injection-molded parts. Whether you are a hobbyist or a small business, mastering the art of mold making can significantly enhance your production capabilities.
Related Conten: 3D Printing / Die Casting / Mold Design
 DTG Mould Trade Process |
|
| Quote: | According to sample, drawing and specific requirement. |
|---|---|
| Discussion | Mold material, cavity number, price, runner, payment, etc. |
| S/C Signature | Approval for all the items. |
| Advance | Pay 50% by T/T |
| Product Design Checking | We check the product design. If some position is not perfect, or can not be done on the mould, we will send customer the report. |
| Mold Processing | Send report to customer once each week |
| Mold Testing | Send trial samples and try-out report to customer for confirmation |
| Mold Modification | According to customer’s feedback. |
| Balance Settlement | 50% by T/T after the customer approved the trial sample and mould quality. |
| Delivery | Delivery by sea or air. The forwarder can be designated by your side. |
 |
|