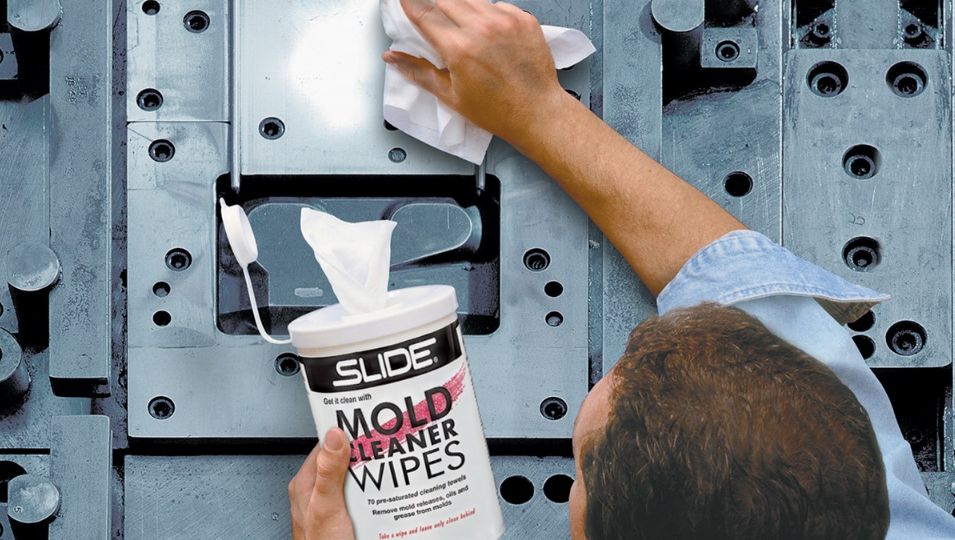
Cleaning injection molds is a critical maintenance task to ensure high-quality production, extend the life of the molds, and prevent defects in molded parts. Proper cleaning can prevent issues such as mold build-up, rust, and damage to the mold surface. Here is a comprehensive guide on how to clean injection molds:
Tools and Materials Needed
- Mold cleaner (commercially available or suitable solvents like isopropyl alcohol)
- Soft brushes (nylon or brass)
- Compressed air
- Lint-free cloths or wipes
- Protective equipment (gloves, safety glasses)
- Rust inhibitor or mold protector
- Ultrasonic cleaner (optional for intricate parts)
- Mold release agent (for post-cleaning protection)
[elementor-template id=”4330″]
Steps for Cleaning Injection Molds
1. Preparation
- Shut Down Production: Ensure the machine is turned off and the mold is cooled down before starting the cleaning process.
- Safety First: Wear appropriate protective gear, including gloves and safety glasses.
2. Initial Cleaning
- Remove Particles: Use compressed air to blow away any loose particles, plastic residues, or debris from the mold surface.
- Inspect the Mold: Check for any signs of wear, damage, or build-up that may need special attention during cleaning.
3. Apply Mold Cleaner
- Select a Suitable Cleaner: Choose a mold cleaner compatible with your mold material and the type of residues present.
- Spray the Cleaner: Evenly apply the mold cleaner to all mold surfaces, paying extra attention to areas with visible build-up.
- Allow to Dwell: Let the cleaner sit for a few minutes to dissolve and loosen the residues.
4. Scrub the Mold
- Use Soft Brushes: Gently scrub the mold surfaces with soft brushes to remove residues. Nylon brushes are generally safe for most molds, but brass brushes can be used for tougher residues without scratching the mold.
- Focus on Details: Pay attention to intricate areas, vents, and undercuts where residues might accumulate.
[elementor-template id=”4331″]
5. Rinse and Dry
- Rinse: Use a clean, lint-free cloth dampened with a suitable solvent to wipe away the loosened residues and cleaner. Avoid excessive use of solvents that may harm the mold material.
- Dry Completely: Use compressed air to blow away any remaining solvent and ensure the mold is completely dry to prevent rust.
6. Apply Rust Inhibitor
- Protect the Mold: Apply a rust inhibitor or mold protector to all cleaned surfaces to prevent rust and corrosion, especially if the mold will not be used immediately.
7. Store Properly
- Safe Storage: If the mold is not going back into production, store it in a clean, dry environment, preferably with a cover to protect it from dust and contaminants.
- Position: Store the mold in a position that prevents damage to critical surfaces, such as parting lines and cavities.
Additional Tips
- Regular Maintenance: Implement a regular cleaning schedule based on production volume and material types to keep molds in optimal condition.
- Use Ultrasonic Cleaning: For intricate molds with complex geometries, consider using an ultrasonic cleaner to effectively remove residues from hard-to-reach areas.
- Avoid Harsh Chemicals: Use cleaning agents that are safe for the specific mold materials to prevent damage to the mold surfaces.
- Inspect After Cleaning: Always inspect the mold after cleaning for any missed residues or potential issues that need addressing.
Summary of Cleaning Process
| Step | Action |
|---|---|
| Preparation | Ensure safety, cool down mold, gather materials |
| Initial Cleaning | Remove loose particles, inspect mold |
| Apply Mold Cleaner | Spray cleaner, allow to dwell |
| Scrub the Mold | Use soft brushes to scrub surfaces |
| Rinse and Dry | Wipe with solvent, dry completely with compressed air |
| Apply Rust Inhibitor | Protect mold surfaces from rust |
| Store Properly | Store in clean, dry environment |
Conclusion
Proper cleaning and maintenance of injection molds are essential to ensure high-quality production and extend the life of the molds. By following the outlined steps and incorporating regular maintenance routines, you can keep your molds in optimal condition and minimize downtime and defects in molded parts.
Related Conten: https://www.m-dtg.com/landing-page/rapid-injection-molding/
 DTG Mould Trade Process |
|
| Quote: | According to sample, drawing and specific requirement. |
|---|---|
| Discussion | Mold material, cavity number, price, runner, payment, etc. |
| S/C Signature | Approval for all the items. |
| Advance | Pay 50% by T/T |
| Product Design Checking | We check the product design. If some position is not perfect, or can not be done on the mould, we will send customer the report. |
| Mold Processing | Send report to customer once each week |
| Mold Testing | Send trial samples and try-out report to customer for confirmation |
| Mold Modification | According to customer’s feedback. |
| Balance Settlement | 50% by T/T after the customer approved the trial sample and mould quality. |
| Delivery | Delivery by sea or air. The forwarder can be designated by your side. |
 |
|
