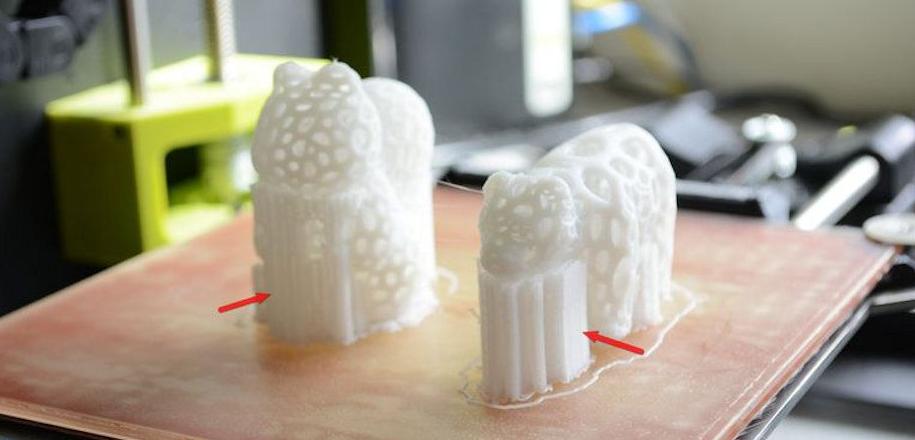
Removing supports from 3D prints is a crucial step to ensure your model looks clean and professional. Here’s a comprehensive guide on how to effectively remove supports from your 3D prints:
1. Understanding the Types of Supports
Before you begin, it’s essential to know the different types of supports:
- Breakaway Supports: These are designed to be manually snapped off. They are generally easier to remove but may leave surface marks.
- Soluble Supports: These dissolve in water or a specific solvent, leaving a smoother surface but requiring additional post-processing.
2. Preparing Your Workspace
Set up a clean, well-lit workspace with all necessary tools within reach. Essential tools include:
- Pliers (needle-nose or flush-cut)
- Hobby knife or scalpel
- Sandpaper or sanding sticks
- Tweezers
- Solvent (for soluble supports)
3. Removing Breakaway Supports
- Start with Pliers: Use needle-nose pliers to gently wiggle and break off larger support structures. Start from the outside and work your way in.
- Use a Knife for Precision: For smaller, more delicate areas, use a hobby knife to carefully cut away the supports. Be cautious to avoid damaging the model.
- Sanding and Smoothing: After removing the majority of the supports, use sandpaper or sanding sticks to smooth out any rough spots or marks left by the supports. Start with a coarse grit and move to a finer grit for a polished finish.
4. Removing Soluble Supports
- Prepare the Solvent: If you’re using soluble supports (like PVA or HIPS), prepare a bath with the appropriate solvent. For PVA, warm water is usually sufficient. For HIPS, a solution of d-Limonene is used.
- Submerge the Print: Place your 3D print in the solvent bath, ensuring it is fully submerged. Leave it for the recommended amount of time, typically several hours to overnight.
- Rinse and Dry: Once the supports have dissolved, rinse the print with clean water to remove any residual solvent. Allow the print to dry completely before further handling.
[elementor-template id=”4330″]
5. Post-Processing
- Filling and Smoothing: If there are any imperfections or gaps left by the supports, you can use a filler material to smooth these areas. Sanding can also help achieve a more uniform surface.
- Painting and Finishing: After supports are removed and the surface is smooth, you can proceed with painting or applying any other finishing touches to your model.
6. Safety Tips
- Wear Safety Gear: Always wear protective gloves and eye protection when handling sharp tools or solvents.
- Ventilation: Ensure your workspace is well-ventilated, especially when using solvents.
- Proper Disposal: Dispose of used solvents and support material according to local regulations to minimize environmental impact.
By following these steps, you can efficiently remove supports from your 3D prints, ensuring a high-quality finish that showcases your work’s detail and precision.
Related Conten: Prototype Manufacturing
 DTG Mould Trade Process |
|
| Quote: | According to sample, drawing and specific requirement. |
|---|---|
| Discussion | Mold material, cavity number, price, runner, payment, etc. |
| S/C Signature | Approval for all the items. |
| Advance | Pay 50% by T/T |
| Product Design Checking | We check the product design. If some position is not perfect, or can not be done on the mould, we will send customer the report. |
| Mold Processing | Send report to customer once each week |
| Mold Testing | Send trial samples and try-out report to customer for confirmation |
| Mold Modification | According to customer’s feedback. |
| Balance Settlement | 50% by T/T after the customer approved the trial sample and mould quality. |
| Delivery | Delivery by sea or air. The forwarder can be designated by your side. |
 |
|