DIY plastic injection molding can be a rewarding and cost-effective way to produce small batches of plastic parts for personal projects, prototyping, or small-scale production. Here’s a step-by-step guide to help you get started with DIY plastic injection molding:
1. Understand the Basics
Injection molding involves heating plastic material until it becomes molten, then injecting it into a mold where it cools and solidifies into the desired shape. This process requires a mold, an injection molding machine, and raw plastic material.
2. Gather Equipment and Materials
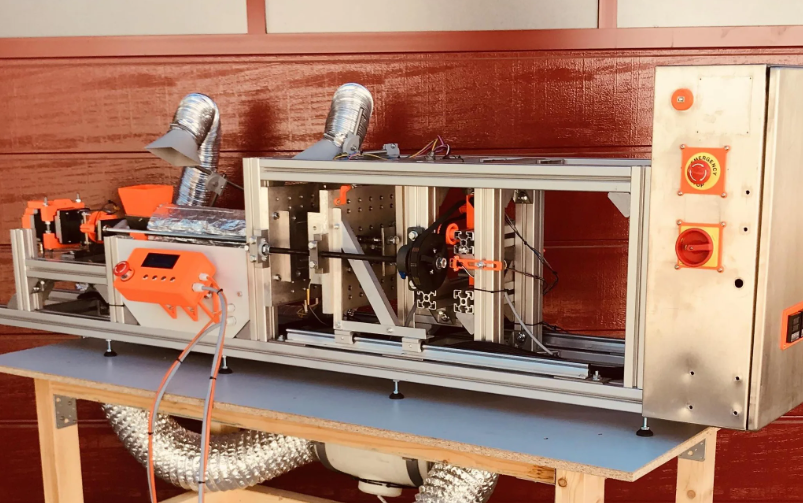
DIY Injection Molding Machine
- Benchtop Injection Molding Machine: Small, manual, or semi-automatic machines are available for hobbyists. These machines typically cost between $1,500 and $5,000.
- Homemade Machines: You can build a simple injection molding machine using metal pipes, a heater, and a hand-operated plunger or lever system. Plans and guides are available online.
Molds
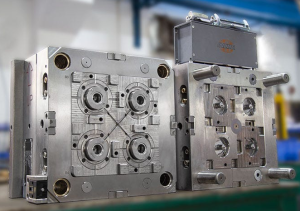
- Mold Material: Aluminum is commonly used for DIY molds because it’s easier to machine than steel. Alternatively, silicone molds can be used for low-temperature plastics.
- Mold Design: Design the mold using CAD software, then either machine it yourself if you have the tools or have it machined by a local workshop or online service.
Plastic Materials
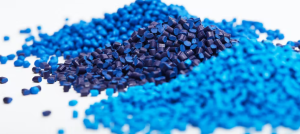
- Thermoplastics: Common choices include polyethylene, polypropylene, and ABS. These materials are available in pellet form.
- Recycled Plastics: You can recycle old plastic parts by shredding them into small pieces suitable for melting.

Choose us for your custom injection molding needs and experience excellence in every detail. Our China-based factory provides innovative solutions, competitive pricing, and fast turnaround times. Get your custom quote now!
3. Designing the Mold
CAD Design
- Use CAD software to design your part and the mold.
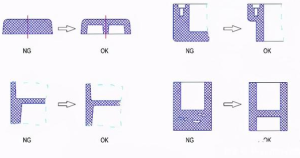
- Ensure the design includes proper draft angles to facilitate part ejection.
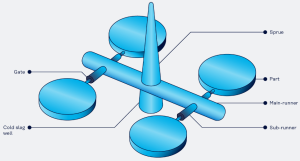
- Include runners and gates to direct the flow of molten plastic into the mold cavity.
- Design vents to allow air to escape and avoid trapped air bubbles.
Machining the Mold
- CNC Machining: If you have access to a CNC machine, you can machine the mold from aluminum or another suitable material.
- Manual Machining: For simpler molds, use a drill press and milling machine to create the basic shapes and features.
4. Setting Up the Injection Molding Machine
Preparing the Machine
- Set up the injection molding machine according to the manufacturer’s instructions.
- Heat the machine to the appropriate temperature for the plastic material you are using.
Loading the Material
- Load plastic pellets into the machine’s hopper. Ensure the material is clean and dry to avoid defects in the final part.
5. Injection Molding Process
Mold Clamping
- Place the mold in the machine and secure it properly.
- Ensure the mold halves are aligned correctly to avoid flashing (excess plastic around the part edges).
Injecting the Plastic
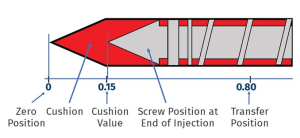
- Use the machine to inject the molten plastic into the mold cavity. Manual machines typically involve pulling a lever to inject the plastic.
Cooling and Ejection
- Allow the plastic to cool and solidify inside the mold. The cooling time depends on the part size and material.
- Open the mold and carefully remove the part. Use ejector pins or a similar mechanism if necessary.
6. Post-Processing
Trimming
- Remove any excess plastic or flash from the part using a sharp knife or trimming tool.
Finishing
- Sand or polish the part if needed to achieve the desired surface finish.
Assembly
- If your part is a component of a larger assembly, check fit and finish with other parts.

As a leading mold injection manufacturer in China, we deliver superior molds for various industries. Our state-of-the-art facilities and expert team ensure top-notch quality and timely delivery. Contact us now for a competitive quote!
7. Tips for Success
Start Simple
- Begin with simple, small parts to get a feel for the process.
Material Choice
- Use common thermoplastics that are easy to work with and readily available.
Safety First
- Always follow safety guidelines when working with hot materials and machinery.
Iterate
- Expect some trial and error. Adjust mold designs and machine settings as you learn more about the process.
Conclusion
DIY plastic injection molding can be an efficient way to produce custom parts at a relatively low cost. With the right equipment and materials, and by following the proper steps, you can successfully create high-quality parts for various applications. Whether you’re a hobbyist, small business owner, or prototyping designer, mastering DIY injection molding can significantly expand your manufacturing capabilities.
Related Conten: Plastic Blow Molding / Plastic Injection Molding

