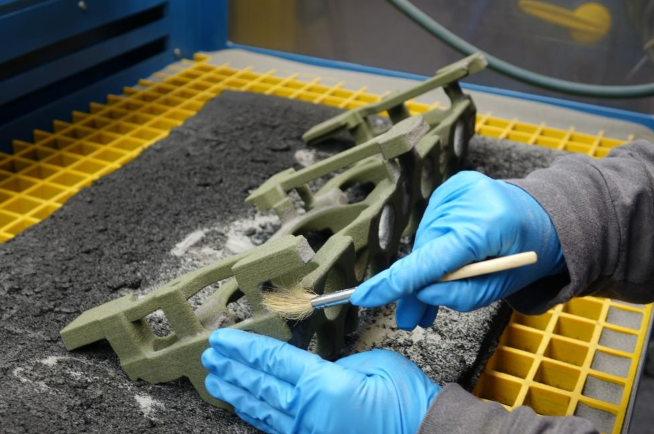
Sanding 3D prints is a common post-processing technique used to smooth the surface and remove layer lines, giving the print a more polished and professional appearance. Here’s a step-by-step guide on how to sand 3D prints effectively:
Materials Needed
- 3D printed part
- Sandpaper (various grits: 100, 220, 400, 600, 1000, and 1500)
- Sanding block or sanding sponge
- Water (for wet sanding)
- Protective gear (mask and goggles)
- Primer (optional)
- Filler putty (optional)
[elementor-template id=”4330″]
Steps for Sanding 3D Prints
1. Preparation
- Clean the Print: Remove any support structures and excess filament. Ensure the print is dry and free of dust.
- Safety: Wear a mask and goggles to protect yourself from dust particles.
2. Initial Sanding
- Start with Coarse Grit (100-220): Begin with a coarse grit sandpaper to remove the most significant imperfections and layer lines. Use a sanding block or sponge to ensure even pressure.
- Sand in a circular motion or along the layer lines.
- Be gentle, especially with fragile parts, to avoid breaking or deforming the print.
3. Progressively Finer Grits
- Medium Grit (220-400): Move to a medium grit sandpaper to smooth out the surface further. This will help to remove scratches left by the coarse grit.
- Continue sanding in a circular motion, applying consistent pressure.
- Fine Grit (400-600): Use fine grit sandpaper to start polishing the surface. This step will make the surface smoother and prepare it for the final finish.
- Consider wet sanding at this stage by dipping the sandpaper in water to reduce dust and achieve a finer finish.
4. Final Polishing
- Very Fine Grit (1000-1500): Finish with very fine grit sandpaper for a polished surface. Wet sanding is highly recommended at this stage.
- This step should remove any remaining scratches and give a smooth, polished appearance.
5. Optional: Primer and Filler
- Primer: Apply a primer to the sanded surface if you plan to paint the print. The primer helps to fill in small imperfections and provides a good base for paint.
- Sand the primer lightly with fine grit sandpaper after it dries.
- Filler Putty: Use filler putty to fill in larger gaps or imperfections before applying the primer. Sand the putty smooth once it cures.
[elementor-template id=”4331″]
Tips for Best Results
- Patience: Sanding 3D prints can be time-consuming, but taking your time ensures a better finish.
- Consistent Pressure: Apply even pressure to avoid creating new imperfections.
- Inspect Regularly: Regularly check your progress to ensure even sanding and identify areas that need more attention.
- Clean Regularly: Wipe off the dust regularly to see the true surface condition.
By following these steps and using the appropriate materials, you can achieve a smooth and polished finish on your 3D prints.
Related Conten: Injection Molding China
 DTG Mould Trade Process |
|
| Quote: | According to sample, drawing and specific requirement. |
|---|---|
| Discussion | Mold material, cavity number, price, runner, payment, etc. |
| S/C Signature | Approval for all the items. |
| Advance | Pay 50% by T/T |
| Product Design Checking | We check the product design. If some position is not perfect, or can not be done on the mould, we will send customer the report. |
| Mold Processing | Send report to customer once each week |
| Mold Testing | Send trial samples and try-out report to customer for confirmation |
| Mold Modification | According to customer’s feedback. |
| Balance Settlement | 50% by T/T after the customer approved the trial sample and mould quality. |
| Delivery | Delivery by sea or air. The forwarder can be designated by your side. |
 |
|

